The Busy Bug

Showing posts with label Kitchen. Show all posts

January 10, 2018

HOME ORGANIZATION CHALLENGE~WEEK 1 KITCHEN CABINETS

Happy 2018!!  I am joining a Home Organizing Challenge for 2018.  Who wants to have a clean & organized home in 14 Weeks??  I know I do!  The Challenge is from  A Bowl Full Of Lemons 

Today is January 8, 2018, first day of the Challenge.  I hope you will be following along as I post my progress on this Blog & also on my YOUTUBE CHANNEL  

Week-1 The Kitchen

CABINETS


Challenge Schedule:

  • Week 1 (1/6/18) – Kitchen
  • Week 2 (1/13/18) – Pantry
  • Week 3 (1/20/18) – Dining Room
  • Week 4 (1/27/18) – Launch Pad
  • Week 5 (2/3/18) – Living Room
  • Week 6 (2/10/18) – Master Bedroom
  • Week 7 (2/17/18) – Master Closet
  • Week 8 (2/24/18) – Kids Closets
  • Week 9 (3/3/18) – Linen Closet
  • Week 10 (3/10/18) Bathrooms
  • Week 11 (3/17/18) – Office
  • Week 12 (3/24/18) – Playroom/Toys
  • Week 13 (3/31/18) – Laundry Room
  • Week 14 (4/7/18) – The Garage
For more information about the 2018 Challenge,  head on over to A Bowl Full Of Lemons.

X💗X


February 26, 2013

CUPCAKE WRAPPER STORAGE

HELLO BLOGLAND!! 
 It's been a while since I've posted. 
 But I'm Back!! 
 I have been trying to organizing my life and home since the beginning of the year. 
 I'll be posting more of my organizing projects in the weeks to come. I'm currently working on my pantry at the moment.
I have a ton of cupcake wrappers which I stored in a huge plastic ziplock bag.
(I forgot to take pictures).
So I decided they needed to have a better home.  

So here is my organized 
Cupcake Wrappers!


They store so much better in my pantry now and they don't get squished!!
What do you think?  
Do you have a favorite ways to orgnizing your Wrappers?

October 27, 2012

CUPCAKE BOX AND A HELLO!


WOW,
it's been a while!
But,
I'm back
:-)
Let's talk
 CUPCAKES.
I made this for my daughters school friend for her birthday.  I used the 


The cupcake is Red Velvet with Cream Cheese Frosting.

Yumm!


Items Used:
Design Id #30339
Design Id #20958
~HAVE A FABULOUS DAY~


February 16, 2012

CREAMY MUSHROOM CHICKEN

I have to share this recipe with you all.  
I made this for dinner and my whole family cleaned their plates!!  
I got the recipe from Real Mom Kitchen.  She "ROCKS"!
It's called 
"Creamy Mushroom Chicken".
  We are not a mushroom eating family so we took them out.  And it still turned out delicious!
It was so easy to make and the taste was 
"OUT OF THIS WORLD"!  


Here is the recipe:


Creamy Mushroom Chicken


  • 4 or 5 slices bacon (I used turkey bacon)
  • 4 chicken breasts
  • salt & pepper
  • 2 Tbsp. butter
  • 1 large onion, diced
  • 8 oz mushrooms, sliced 
  • 2 cans (10 3/4 oz) cream of mushroom soup
  • 1/4 cup chicken broth
  • 2/3 cup Monterrey jack cheese
  • 8 oz spaghetti, fettuccine (what I used) or linguine
  • parsley, optional for garnish
Instructions
  1. Preheat oven to 350 degrees.
  2. In a large skillet, cook the bacon. Place bacon on a paper towel lined pate to drain and set aside. Leave bacon drippings in the pan.
  3. Season chicken breasts with salt and pepper.
  4. Add butter to the pan and cook chicken breast until brown on both sides. Remove from the pan and place in a 9 x 13 inch baking dish.
  5. Add the onion to the pan and cook for 1 minute. Then add the mushrooms and cook until the mushrooms and onion are tender.
  6. Add the soup, chicken broth and cheese. Heat until the cheese is melted.
  7. Spoon the sauce over the chicken in the 9 x 13 dish.
  8. Bake at 350 degrees for 25 minutes.
  9. While the chicken bakes, cook the pasta.
  10. Crumble reserved bacon.
  11. Serve chicken on top of the cooked pasta with sauce and sprinkle with crumbled bacon and parsley if desired..
  12. Enjoy!


February 15, 2012

"POST" VALENTINE'S POST.

WOW..I know Valentine's Day has come and gone, 
but I have been so busy with a ton of projects. 
I made these cookies for my son's
 Valentine's party at school yesterday. 


Hope Everyone had a wonderful Valentines Day!

January 11, 2012

SCRAP TOOL IN THE KITCHEN

I have to share this with you all!!  I am so tired of my dull kitchen knives.  I would buy a  for around $20.  & about a month, I was tearing at the meat instead of cutting!  I don't want to spend hundreds of dollars on kitchen knives that I have drooled over.  So, I had an idea!!  Why not use my "AMAZING"  
Tim Holtz Tonic SCISSORS.  
They cut through almost everything, they are:

  • Resistant to rust and corrosion
  • Non-stick coating minimizes adhesive build up
  • Extra large Kushgrip Handles for comfort and less fatigue
  • Micro serrated edge great for detail cutting
  • Protective plastic cap for sharp pointed blade
  • Excellent cutting on all types of material including sheet rubber, vinyl and adhesive backed  papers 

  • And the cost??
    Michaels Craft's-$14.99 with a 50% Coupon=$7.49 
    NOT BAD!!


    They cut through everything with "NO PROBLEM"!
     LOVE IT!

    December 06, 2011

    THANK YOU MINI CARDS

    I have a lot to be thankful for, and a lot of people to thank.  
    I am always rushing around to make thank you cards, 
    so, I decided to make a bunch!  
    Here they are.  


    Happy Tuesday!

    November 24, 2011

    HAPPY THANKSGIVING 2011


    Here I am!!!..  I have been MIA for a while now.  Just trying to get Thanksgiving and Christmas squared away!  This is part of what I have been up to.  Made a couple of these for neighbors, teachers, family & friends.


    I wish everyone a wonderful 

    &
                                  

    June 20, 2011

    FATHER'S DAY 2011

     My daughter and I made Dad, Father's Day Breakfast!  
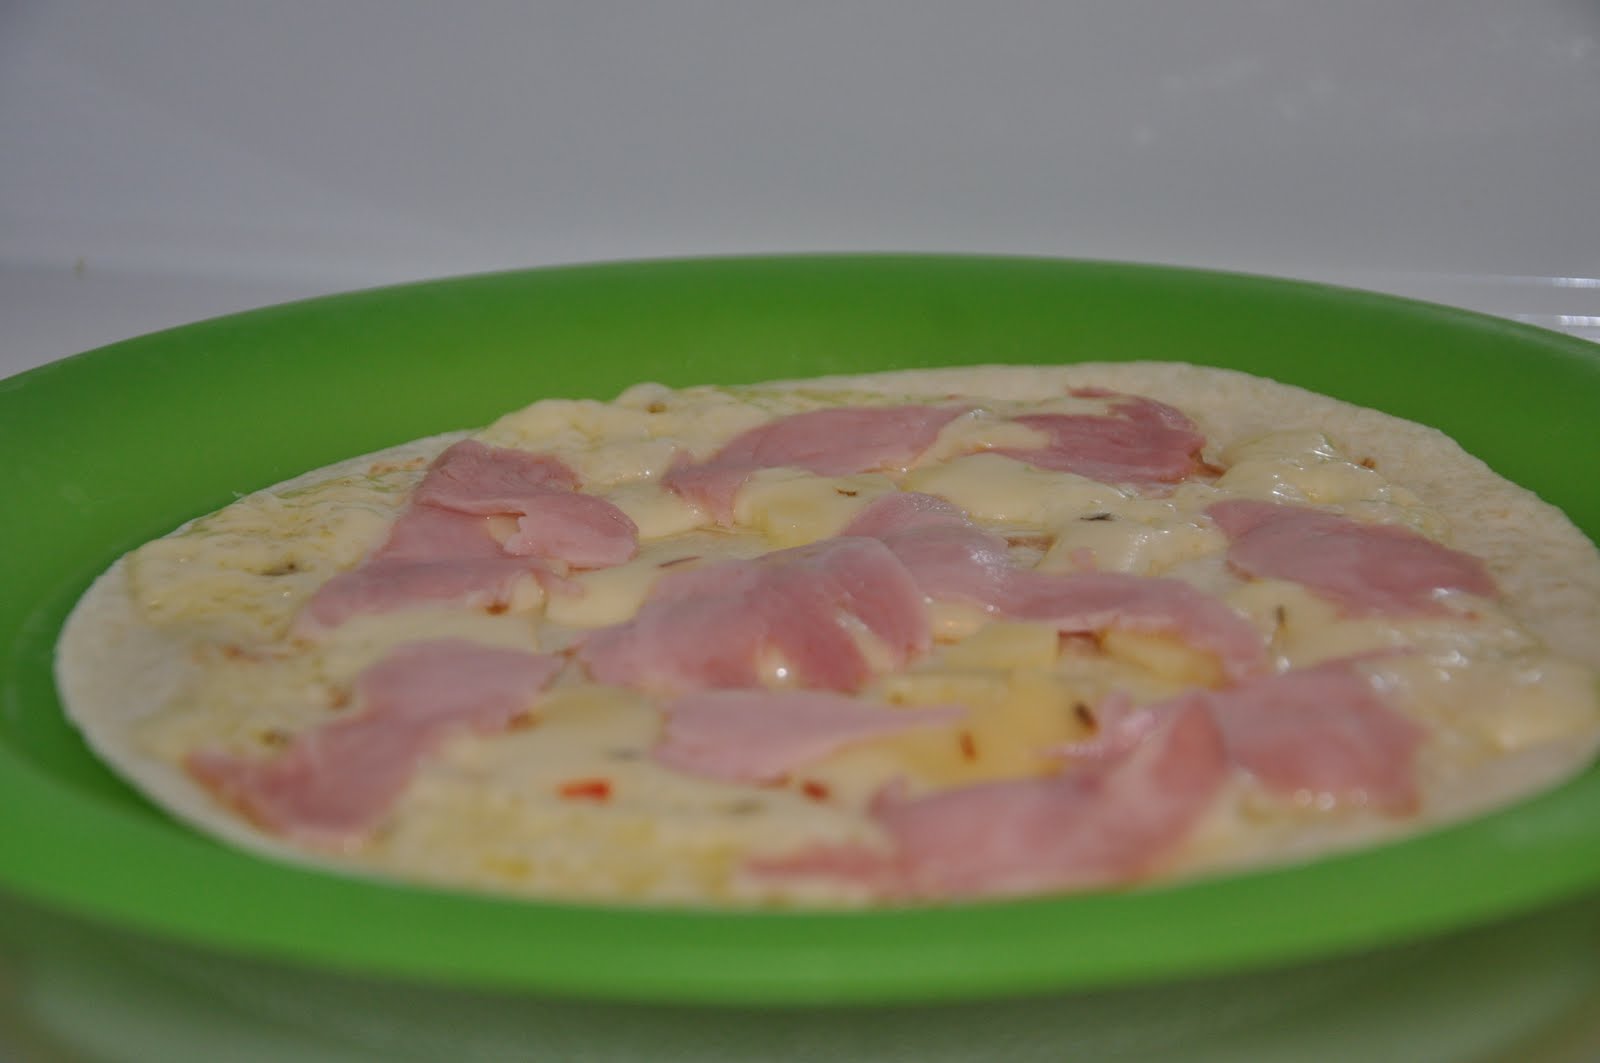
    Scrambled eggs with ham and cheese on a tortilla! 
     It was the YUMMIEST!
    ..I added freshly picked dill from my garden.

     ....melted the ham and Montery Pepperjack Cheese on the tortilla...

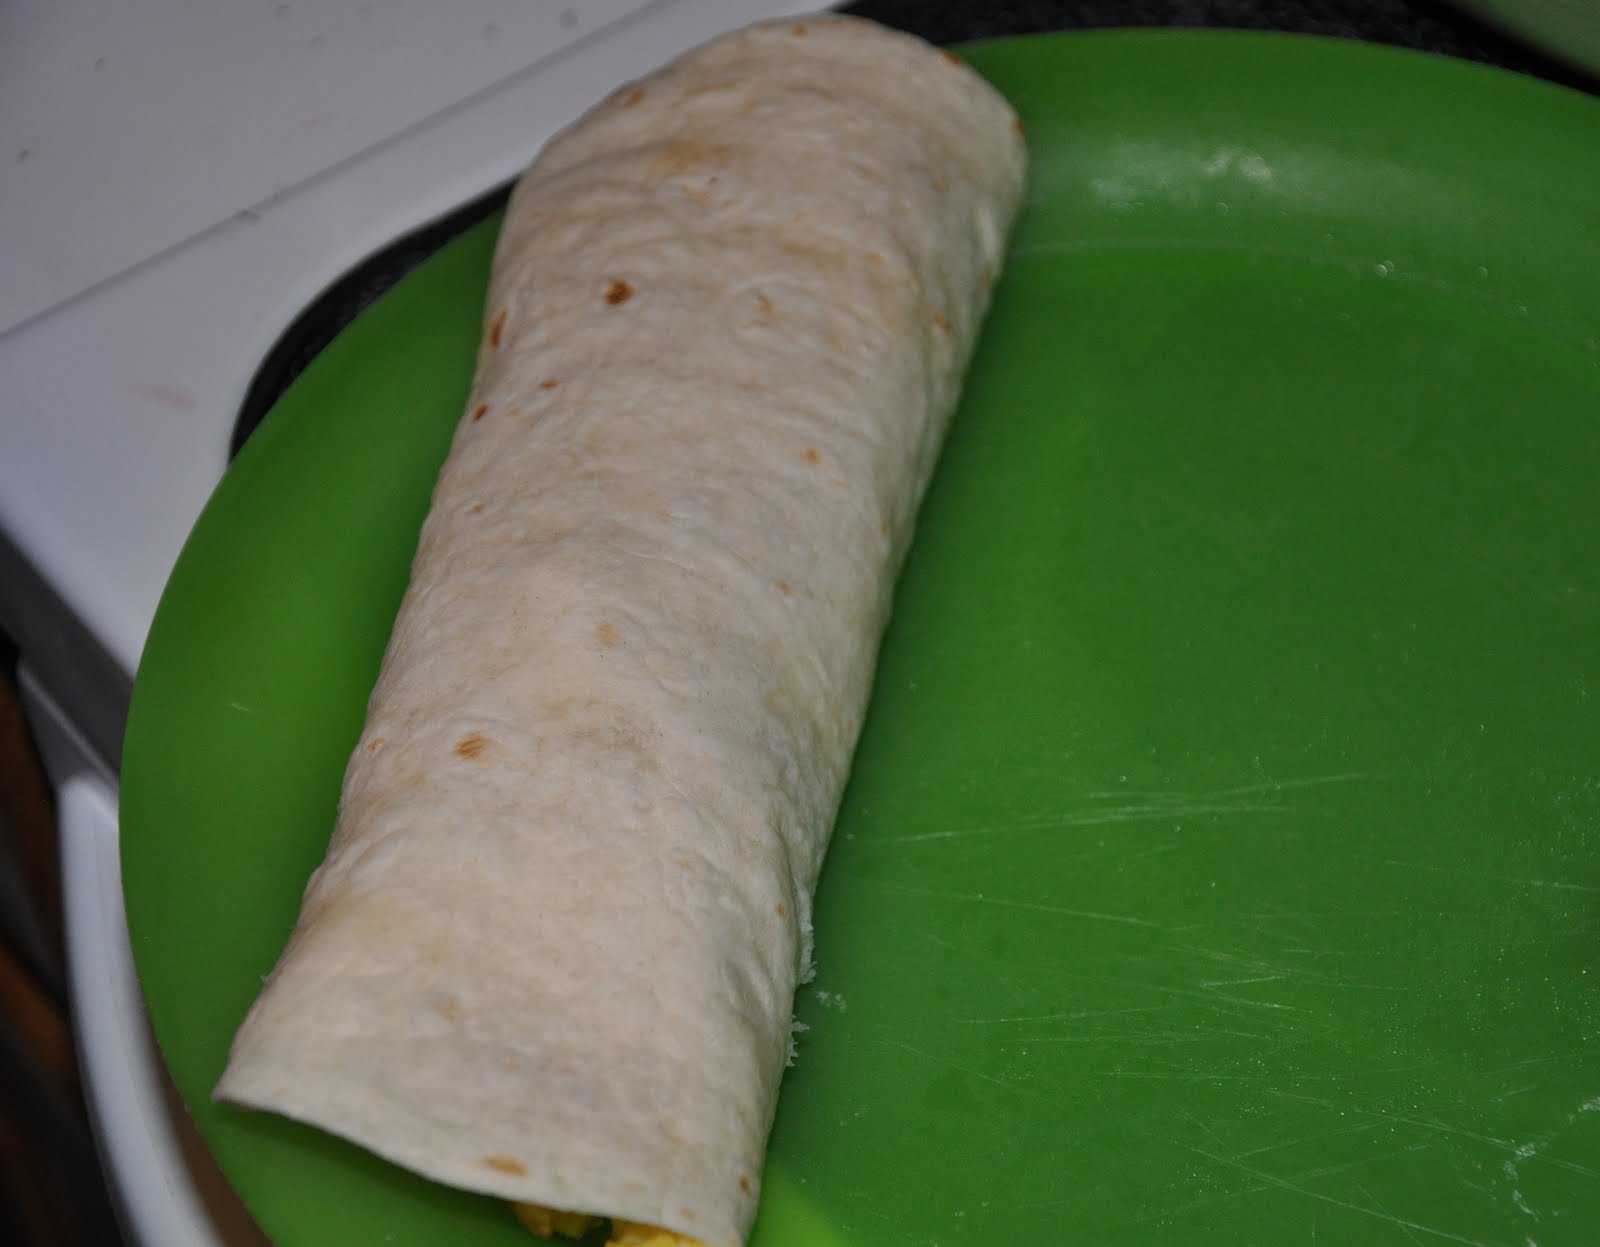
    .....rolled it up in the tortilla and that's it!

    My daughter made Dad this card all by herself!  I think she has caught the BUG~!!  Now only if I could get her to use my Cricut!
     This is what she wrote inside the card...
    It goes so well with the lighthouse!!

     I made this quick card for the boys to give to their dad....
    They haven't caught the BUG yet  ;-)
    Todays request for Father's Day Dinner~~~Chicken Cordon Bleu, with cream sauce, white rice, salad, string beans and of course, German Chocolate Cake.  My husband only asks for this meal two times a year....It is amazing and sooo super easy to make.   Did you notice the huge radishes in the salad??!!  I'm getting so many radishes from my garden.   I'll take some pictures of my garden's progress real soon. 


    For the writing on the cake, I used this method of printing with chocolate because my 
    handwriting isn't the best.  
    First, I printed out the phrase and stapled it under parchment paper.
    Then you just copy the print with melted chocolate.


     ...wait for the chocolate to harden and transfer it to the cake. 
    All done!
    Kids made all the chocolate hearts! 
    I hope all you DAD"s had a 
    fabulous 
    Father's Day! 

    February 25, 2011

    Project 80 - Homemade Bread...Yummy!

    I have made homemade bread before, but nothing to write home about!   I tweaked this recipe a little because my bread always ended up being dry and crumbly,  and whalla!!  It taste like I purchased it from the store,  but better!!  My family can't get enough of it!
    The secret is to use POTATO FLAKES!


    Here is the recipe:
    My Easy Wheat Bread
    2 1/2 Cups Water
    1 Tblsp Yeast
    1 Tblsp Honey

    4 Cups Whole Wheat Flour
    1 Egg
    1/4 C. Oil
    1 C. packed Brown Sugar (makes bread moist)
    2 tsp. Dough Enhancer (In your baking isle)
    1/4 C. Potato Flakes (not Pearls)
    1/4 C. Gluten
    2 tsp Salt
    4-5 more Cups of Flour (for mixing)

    Put Water, Yeast & Honey in mixer and let sit for 10 minutes.  After 10 minutes,
     add all ingredients together. Begin adding extra flour 1 cup at a time (about 4-5 
    more cups).  Mix the dough mixture until the dough pulls away from
    the sides of the bowl. When the sides of the bowl are clean stop adding flour.  Allow 
    the mixer to knead the dough for 8-10 more minutes.  Separate into 2 to 3
    bread pans.   Let rise 30 minutes or until double in size in a warm kitchen or oven. 
    If using your oven to raise the bread, warm oven to 200 degrees and turn off. 
    Then put the covered bread dough in to rise until doubled in size. 
    Bake on 350 for 30 minutes.  Yum!
     Enjoy!