The Busy Bug

May 31, 2011

SOCK HOP SOCKS!

Today, at my daughter's school, they had their annual 6th grade Sock Hop.  She had to wear crazy socks that she design on her own.  Glue gun to the rescue!  This is what she came up with.
She was so proud to wear them!
Until later....

May 30, 2011

REMEMBER ~ MEMORIAL DAY 2011

I hope everyone enjoys this 
MEMORIAL DAY, 2011
 as we remember all those who have gone ahead.
Please take time to remember the brave men and women 
who gave the ultimate sacrifice, 
to help make and keep the United States Of America
 The Land Of The Free And The Home Of The Brave!
Memorial Day 2011 by Eric Henderson Photography


Memorial Day 2011 by Eric Henderson Photography
(Photos from Flickr)


 HAVE A FABULOUS DAY!

May 28, 2011

TEFLON COATED PAINT TRAY

Have you ever had this happen to you after you have painted using a paint tray !
Well, this happens to me all the time and I always have to throw the tray in the trash!
But I found the solution to this problem!!  While strolling though the paint isle of LOWES  a couple days ago, I saw this paint tray that had Teflon lining.  

Shur-Line Teflon Paint Tray


So, Of course, I decided to try it.  
 OMG!!!  
It's amazing!!
After the paint dried,
 it just peeled right off!!  


What an investment!!  
You gotta get this!!!

Have a Wonderful Weekend!


May 27, 2011

I'M BACK!!~HOMEMADE COMPOST BIN

Hi ya'll.....I've been away too long.  I've been so busy working on a couple of things.  I'll be taking you all along as I complete them.  Wow, do I have some fun stuff coming up!  I'm trying to be an "ORGANIC GARDENER"!  My new "Motto".....Reduce, Reuse, Recycle!  
This is what I completed today.  I got these wood pallets from my neighbors!
  
I nailed them together and painted them this really cool green!
Here's to the beginning of composting.
Grass and kitchen scraps.
Isn't she beautiful!
Total cost = The cost of the paint.
 This is my other compost bin that I purchased from Lowes.  


It's good to have two going at the same time.
Have a fabulous FRIDAY!

May 17, 2011

"A LITTLE INSPIRATION"

These are not my Raised Garden Boxes (NOT YET"") 
I hope to have my beds look just a little like these one day.  
These are my INSPIRATION PICTURES".....
Enjoy!


Aren't they "YUMMY"
Makes me want to just go outside and plant something....
More pictures of my Raised Garden Bed "Progress" coming SOON!
Have a Fabulous Day!

May 13, 2011

"CUSHY TUSHY!!

I bought this cute little seat for gardening today but it hurts by "TUSHY"!  
I decided to do something about it!  
This is what I did.....


 Too hard for my TUSH!!
All you need is an old (or new) cushion for your knees that you use when weeding.
 Cut it to the form of the seat.

I usually look around my house for things that I can use and I found this Rhino Grip tape that I used on an earlier project for my entrance door carpet.


 Attached it to the seat.
 Put the cover back on and......
Now I have a 
CUSHY TUSHY!!
:-)
 I found these two deluxe seats with cushions for twice the price I paid for mine!
Have a great weekend.

May 11, 2011

RAISED GARDEN BOXES ~ PART 3 ~ SQUARE FOOTIN'

Now it's time to divide each box into "Square Foot boxes".  You plant more in each box this way.  I'm reading Mel Bartholomew's Square Foot Gardening Book, it has everything there is to know about Squarefoot Gardening!!  I hope my garden looks something like his!  This is what's happening....
Recipe:
Bamboo sticks (last longer than using lattice and won't rot as fast)
Galvanized poultry net staples
Ruler
Hammer
Cable Plastic Ties
 I measured each to 12 inches 
and hammered them in.
 Then, I used the cable plastic ties to tie them together.
 For the longer beds, I used the Cable ties to put two pieces together to extend them.
 And, there you have it!....

May 10, 2011

UPDATE ~ RAISED GARDEN BED FILLED ~ NOW TO PLANT....

Wow,  I can't believe it has rained ALL day today!  
Oh well, It was a good time to stay inside and 
catch up on some things I have been neglecting!  
The boxes are all put together and the dirt delivered and distributed.  
Thanks, Ted & Cooper (my next door neighbor and his son) Jordan, Taylor, Lizzy and Chris, for all your help!!    
What do you think of my "STOLLEN" space now!

Ground is level and waiting for my vision!

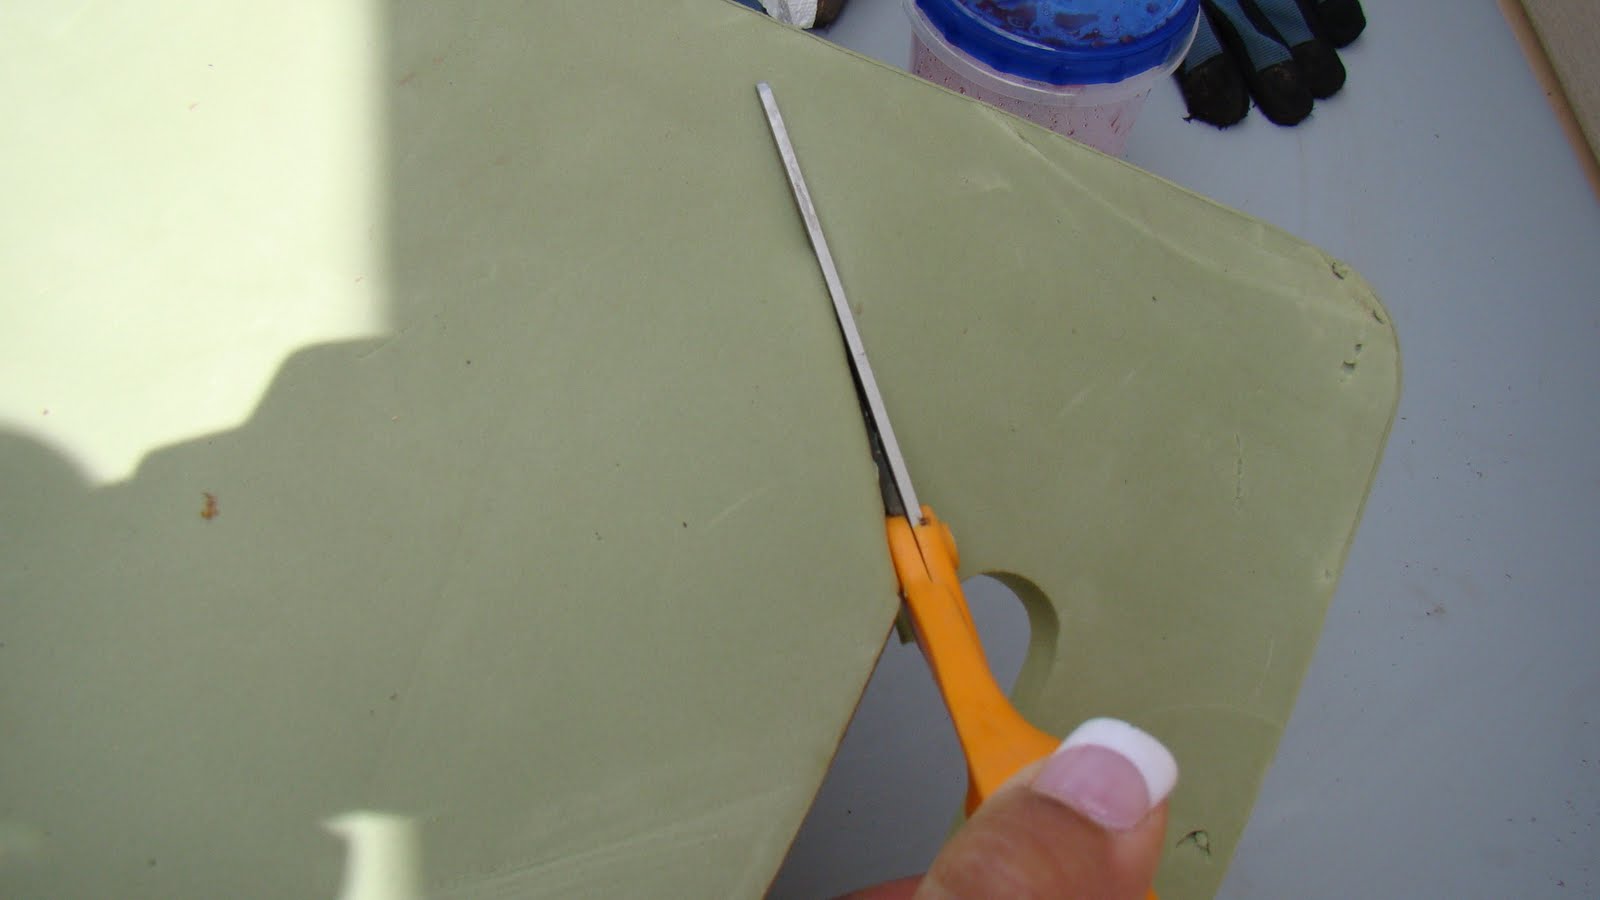
 Boards drying in the sun!  
(I painted only the outside of most of the boards.)

Nails and brackets ready!

Wow...each one of these took me approximately 15 minutes to put together! 
 Now it's ready for some 
good quality bedding mix!
(Aren't the snow-capped mountains just beautiful in the background!)
 I put Weed Block under each box... 
(Hopefully I won't get any weeds!)
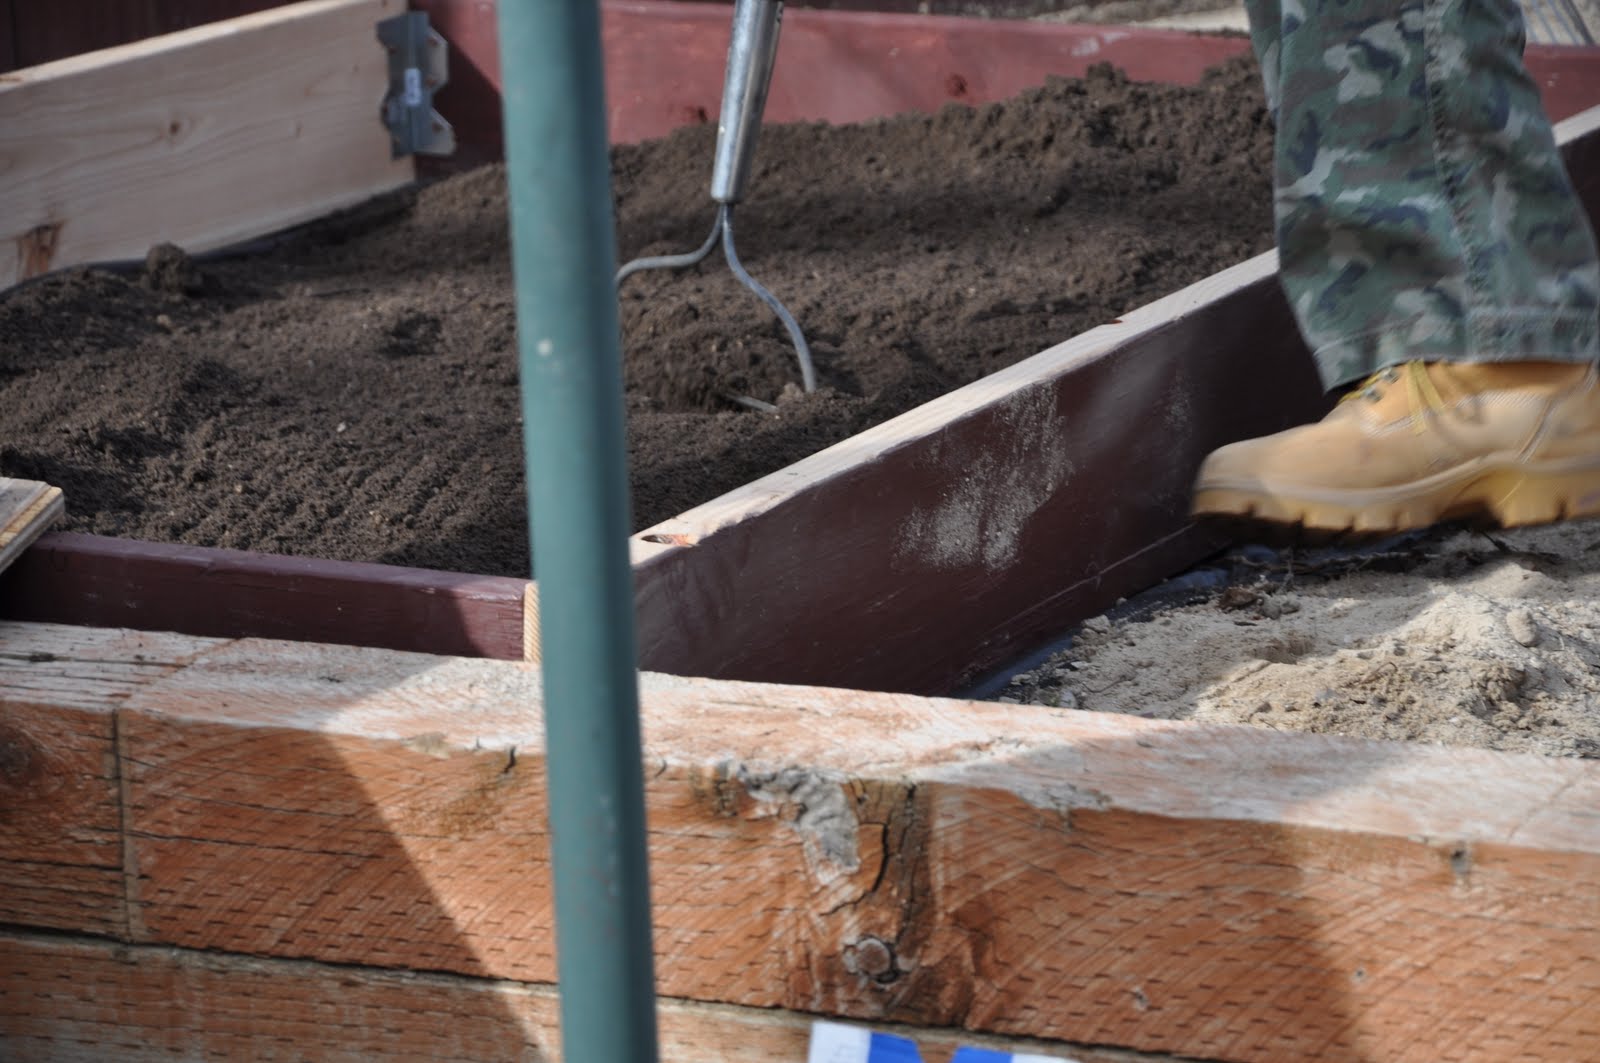
 Dirt delivered and filling the beds!
Do you like my garden boots and army pants!
("Reporting for garden duty!")  :-)

 It took 3 Cubic Yards of Bedding Mix,
 and I had some left over for potting more plants!

 AAAAaaa... 
This makes me smile
 :-)

Don't you just love my Hippo Stepping Stone?
He's just grazing under the sand....
Now on to the planting!!
(Next post!!)
(Thanks for stopping by)