The Busy Bug

Showing posts with label Homemade Raised Garden Boxes. Show all posts

May 06, 2013

PAINTED FENCES "THE NEW CLEAN LOOK"

I really "HATED" the color of my backyard fence!  So While "hubs" was away in New York, I decided to spruce things up a bit.  I decided to paint my fence.  I loved the clean fence color over at TOOTSIETIME'S BLOG.  Love her Blog!  So I decide to change mine to something similar.

HERE IS THE BEFORE......
YUCK!...
It just seems so gloomy.


AND NOW HERE IS THE AFTER!! 
 I JUST LOVE IT!!
WHAT DO YOU THINK?


Looks so much cleaner!
Now on to the next project!!
Have a fabulous day!

March 22, 2013

2013 ~ LOOK WHAT'S GROWING SERIES - CLEANING FLATS, SHELVING FOR SEEDS, TOOLS SHARPENED, BLUEBIRD HOUSES, STOCKED GREENHOUSE & GARDEN BEDS...WHEEEEW!

Today I'm going to combine a bunch of posts in one so that I can catch up on what's happening now.  
I have been taking lots of pictures,
 but I have been so busy getting ready for the growing season that I haven't had time to post them.   
So here goes....

- Cleaning of Gardening Pots & Flats. 
I washed all my garden flats and pots in my kids bath tub...eeeewwww!  It was a MESS!!  I was too lazy to do it last year--Note to self, after plants have been moved into the garden, clean them OUTSIDE..always!!


- Setting up indoor shelving with light for seedlings. 


- Shelves filled with my new growing seedlings!


- Sharpened all of my gardening tools, shears & everything that needed to be sharp!


- I built two Bluebird houses to see if I could get some birds in my garden to eat the bad bugs.  Houses are up....no birds yet!


-I stocked my greenhouse with a few more flats, vermiculite, peat moss, compost, & yes, I course, my PINK HELLO KITTY radio I acquired from my daughter (she doesn't use it anymore).


- started preparing my square foot garden beds for this years crop.

So far this is what I have been up to for the past couple of weeks!  Busy, busy, busy.
Lots happening,  
I hope to be more organized for this years growing season.
Until later!
Bug Hugs :-)


March 19, 2013

2013~LOOK WHAT'S GROWING SERIES ~SPINACH!!

I'm starting my 
2013 - "LOOK WHAT'S GROWING SERIES"
~~~~

Look what I have left over from last years garden.  
SPINACH!  
(My very first winter garden)

I cut some for a yummy spinach salad yesterday and it was so yummy!  
I can't believe it lasted all winter!


It's so nice to have fresh homegrown salad so early in the season! 
More to come!
Happy Growing!

June 10, 2011

I HAVE RADISHES~MY VERY FIRST HARVEST (ALREADY)

I have RADISHES!!  Wow.....
I can't believe I have RADISHES already.  
These puppies came from seeds! 
 I just planted some more seeds in my garden
 since these came up so fast! 
I love radishes in my salad.
Here they are:


 YUMMY!!


May 17, 2011

"A LITTLE INSPIRATION"

These are not my Raised Garden Boxes (NOT YET"") 
I hope to have my beds look just a little like these one day.  
These are my INSPIRATION PICTURES".....
Enjoy!


Aren't they "YUMMY"
Makes me want to just go outside and plant something....
More pictures of my Raised Garden Bed "Progress" coming SOON!
Have a Fabulous Day!

May 11, 2011

RAISED GARDEN BOXES ~ PART 3 ~ SQUARE FOOTIN'

Now it's time to divide each box into "Square Foot boxes".  You plant more in each box this way.  I'm reading Mel Bartholomew's Square Foot Gardening Book, it has everything there is to know about Squarefoot Gardening!!  I hope my garden looks something like his!  This is what's happening....
Recipe:
Bamboo sticks (last longer than using lattice and won't rot as fast)
Galvanized poultry net staples
Ruler
Hammer
Cable Plastic Ties
 I measured each to 12 inches 
and hammered them in.
 Then, I used the cable plastic ties to tie them together.
 For the longer beds, I used the Cable ties to put two pieces together to extend them.
 And, there you have it!....

May 10, 2011

UPDATE ~ RAISED GARDEN BED FILLED ~ NOW TO PLANT....

Wow,  I can't believe it has rained ALL day today!  
Oh well, It was a good time to stay inside and 
catch up on some things I have been neglecting!  
The boxes are all put together and the dirt delivered and distributed.  
Thanks, Ted & Cooper (my next door neighbor and his son) Jordan, Taylor, Lizzy and Chris, for all your help!!    
What do you think of my "STOLLEN" space now!

Ground is level and waiting for my vision!

 Boards drying in the sun!  
(I painted only the outside of most of the boards.)

Nails and brackets ready!

Wow...each one of these took me approximately 15 minutes to put together! 
 Now it's ready for some 
good quality bedding mix!
(Aren't the snow-capped mountains just beautiful in the background!)
 I put Weed Block under each box... 
(Hopefully I won't get any weeds!)
 Dirt delivered and filling the beds!
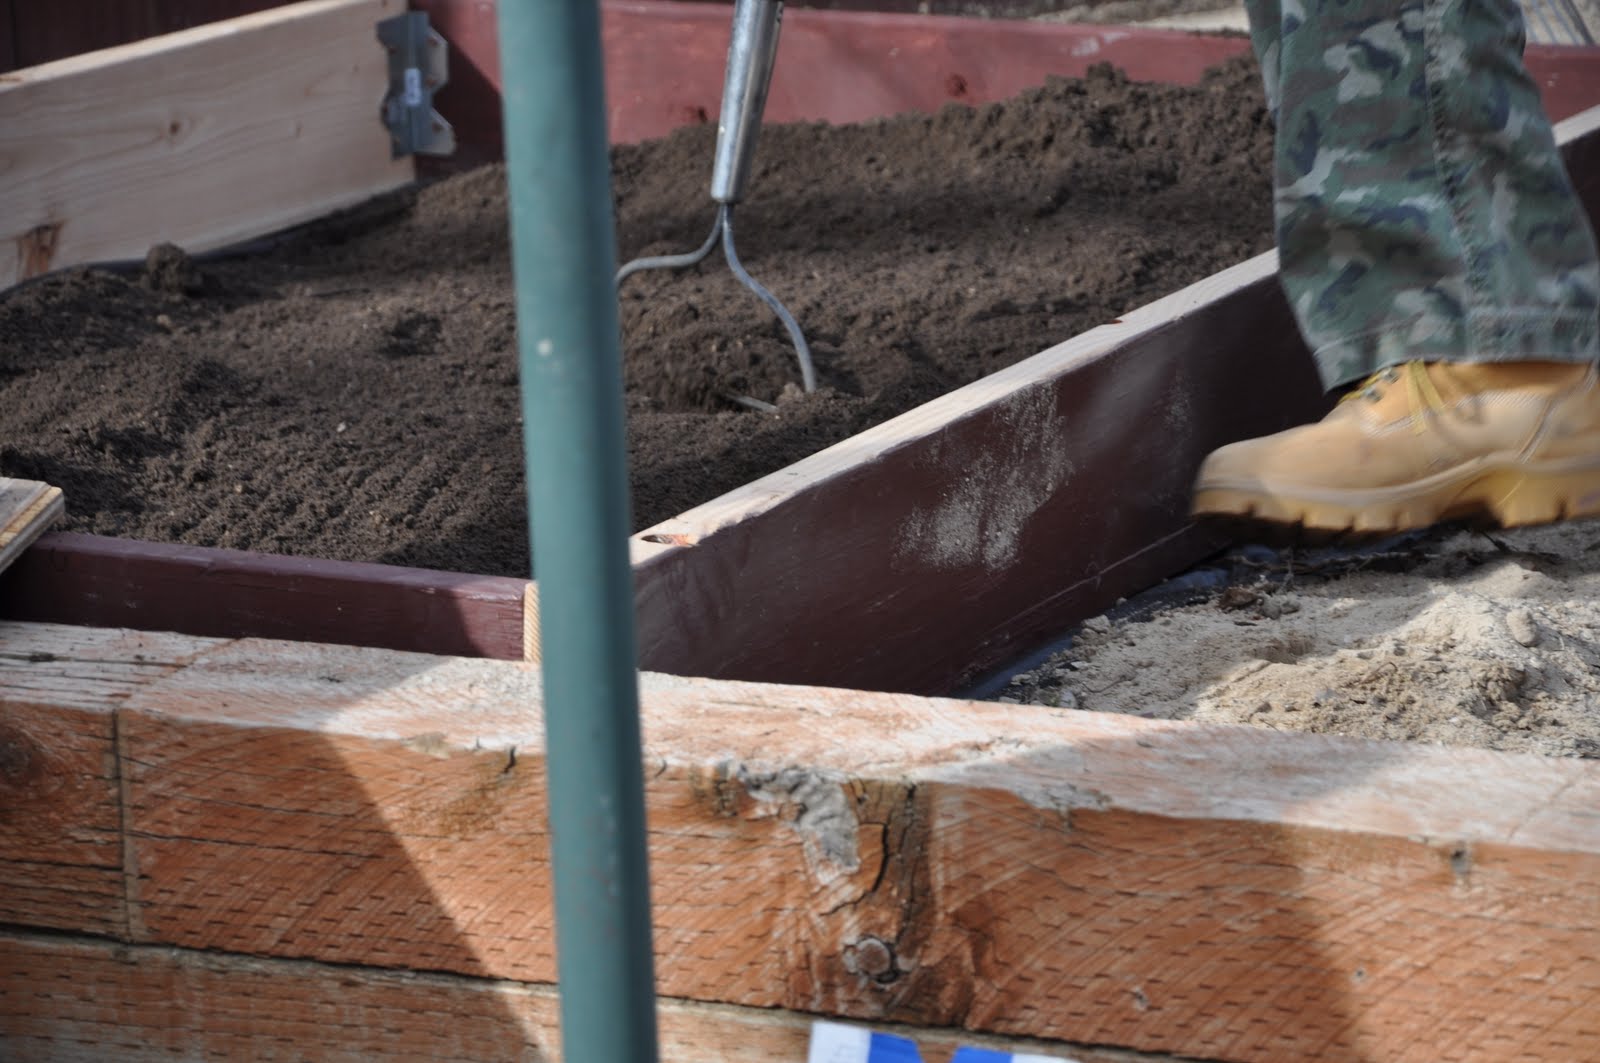
Do you like my garden boots and army pants!
("Reporting for garden duty!")  :-)

 It took 3 Cubic Yards of Bedding Mix,
 and I had some left over for potting more plants!

 AAAAaaa... 
This makes me smile
 :-)

Don't you just love my Hippo Stepping Stone?
He's just grazing under the sand....
Now on to the planting!!
(Next post!!)
(Thanks for stopping by)

May 05, 2011

MOVING THE SWING.....

This is where I'm putting my new garden this year. 
 I decided to 
"STEAL" 
this sandbox area from the kids, 
& move the swing back onto the grass! 
 This area gets the most sun during the day, 
that's what my veggies need.  
While dad was away at work, 
I decided to move the swing and get things started.  


 I rented a 
"Jackhammer" 
because it was anchored down by concrete.  
So my son and his friend went to work! 
 They thought it was such great fun to work with such a tool! 
 It must have weighed around 50lbs!


It worked like a charm......The concrete just collapsed under all that hammering!
 SWING...NO MORE.... HERE!  
This area is now 
ALL MINE!!!!  
Now it's time to get to work!  
I'll be bringing you along for the progress!!

WHAT A YUMMY SPACE!

The swing's new home.....
UNTIL LATER.....